Canvas
Canvas is SRVZr’s freeform visual workspace. It is designed for building presentation-ready boards, signage, social graphics, storyboards, visual instructions, and other compositions from editable objects.
The important mental model is simple:
A canvas is the document. Objects are the editable content. Frames are the outputs or scenes that define how the document can be presented.
1. Canvas library
The Canvas destination at /canvases is the document library. It gives you a searchable list of canvases and a preview of each document before you open it.
Each canvas card can show:
- the canvas emoji and name;
- a lightweight preview rendered from the saved object data;
- the number of objects in the document;
- the last-edited time;
- actions for opening, renaming, archiving, or restoring a canvas.
Use Create New Canvas when you want a clean document. Use the search field when the library is large. Archived canvases stay separate from active work so the main list stays focused.
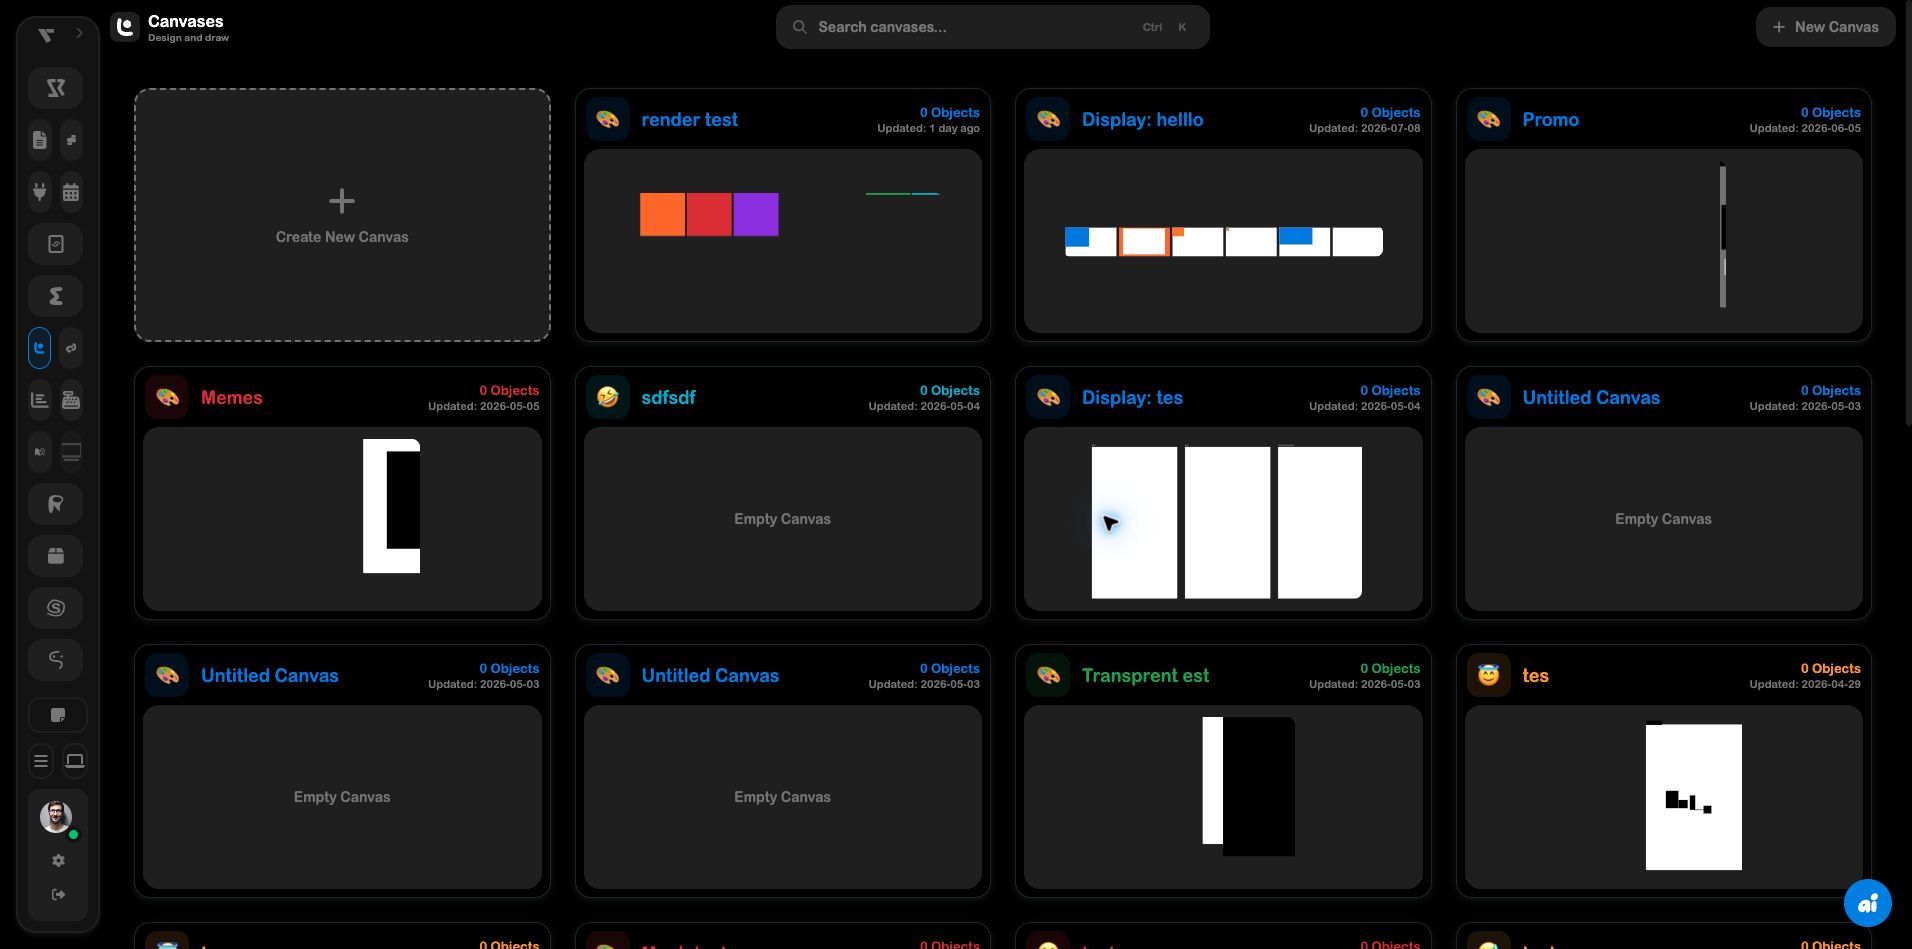
The library is intentionally separate from the editor. Open a card to continue editing the existing document, or create a new document when you want a clean object tree and frame set. A local draft can also appear here when work exists in the browser but has not yet been synchronized.
2. Editor chrome
The top bar is the document control layer:
| Area | What it does |
|---|---|
| Back | Returns to the canvas library without losing the current document state. |
| Canvas name | Shows the current document and opens document-level options. |
| Save | Saves the working canvas to the cloud; the status communicates whether changes are saved, saving, or in an error state. |
| History | Opens the history timeline so you can inspect or restore earlier points. |
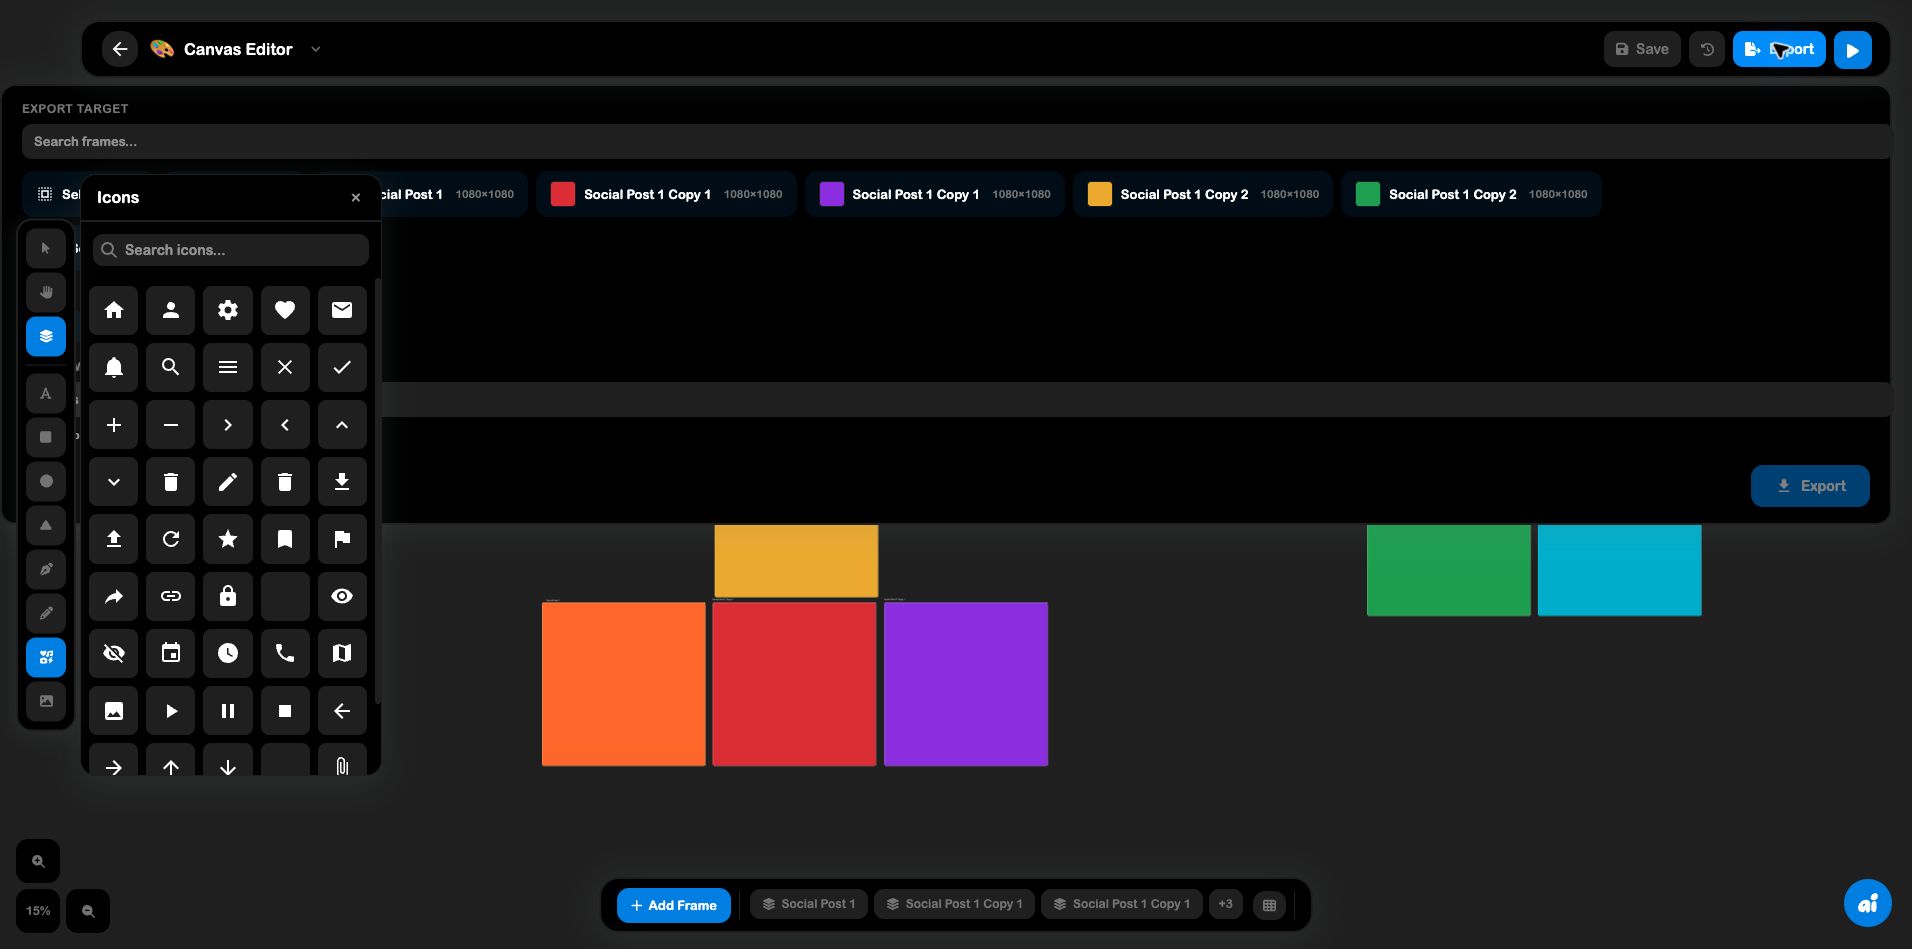
| Export | Opens export actions for turning the current composition into an output. |
| Bloom/effects menu | Provides document-level visual options when available. |
Canvas saves are intentionally separate from presentation. You can keep editing the source document while using frames to define presentation scenes.
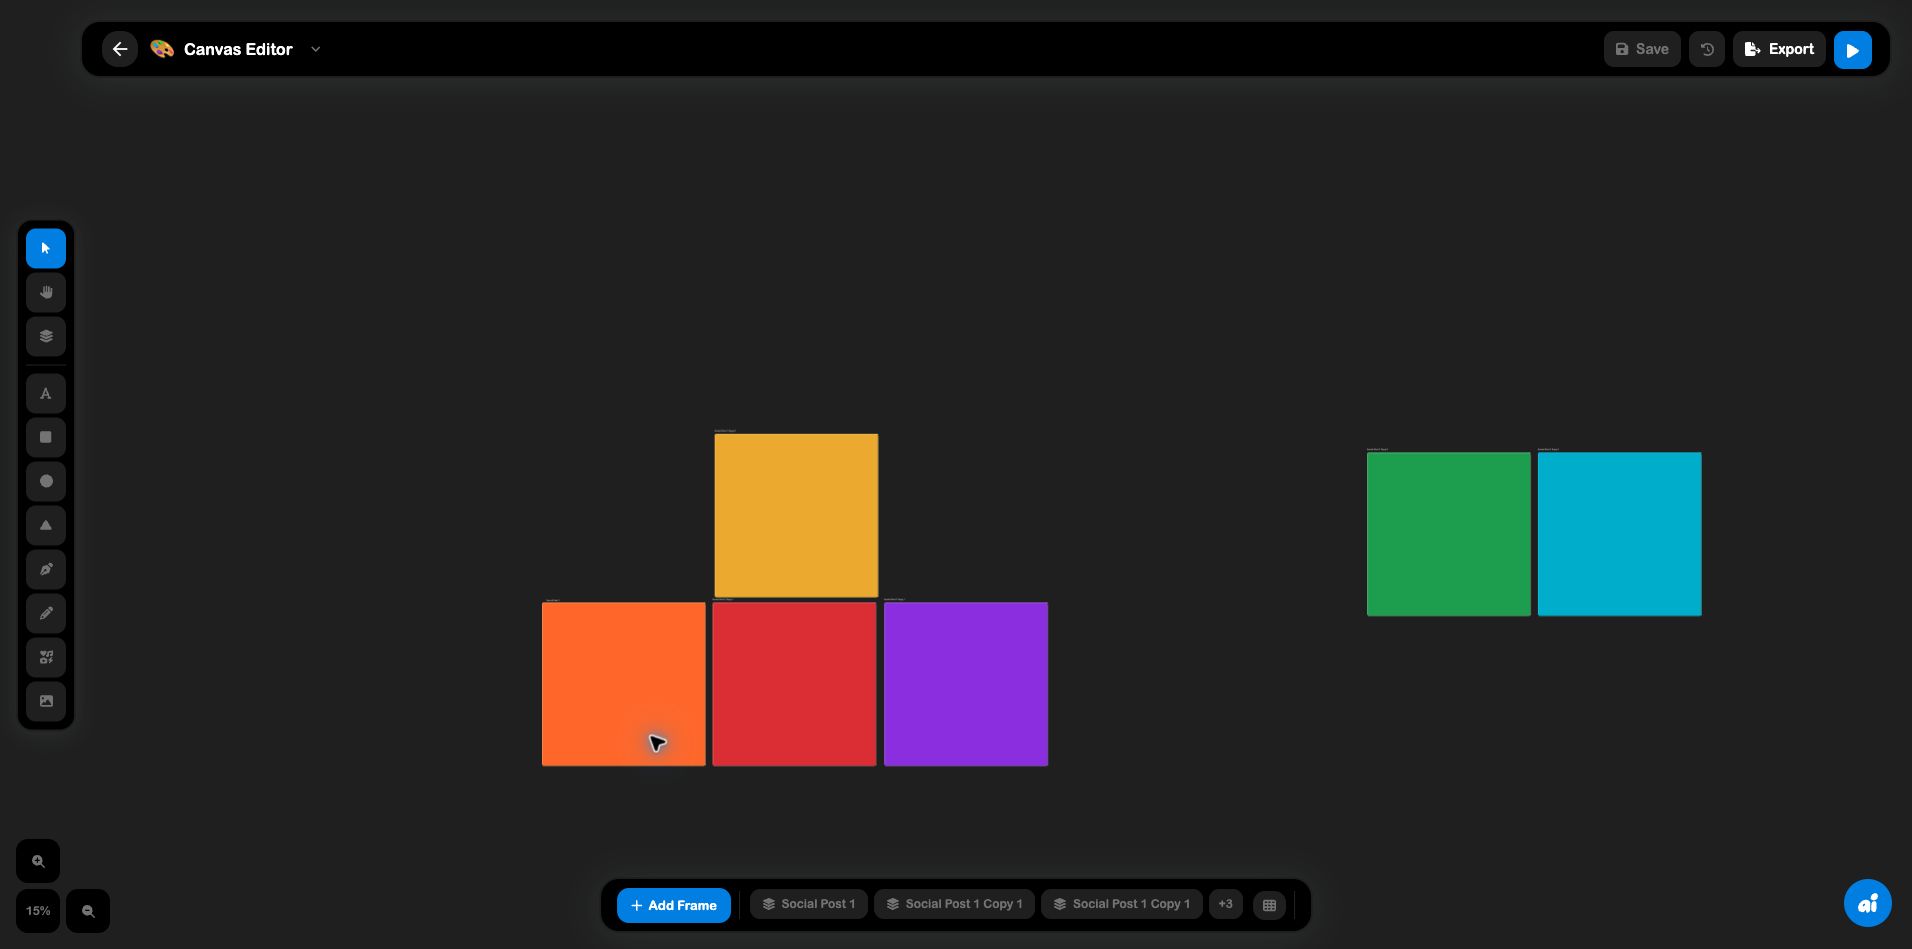
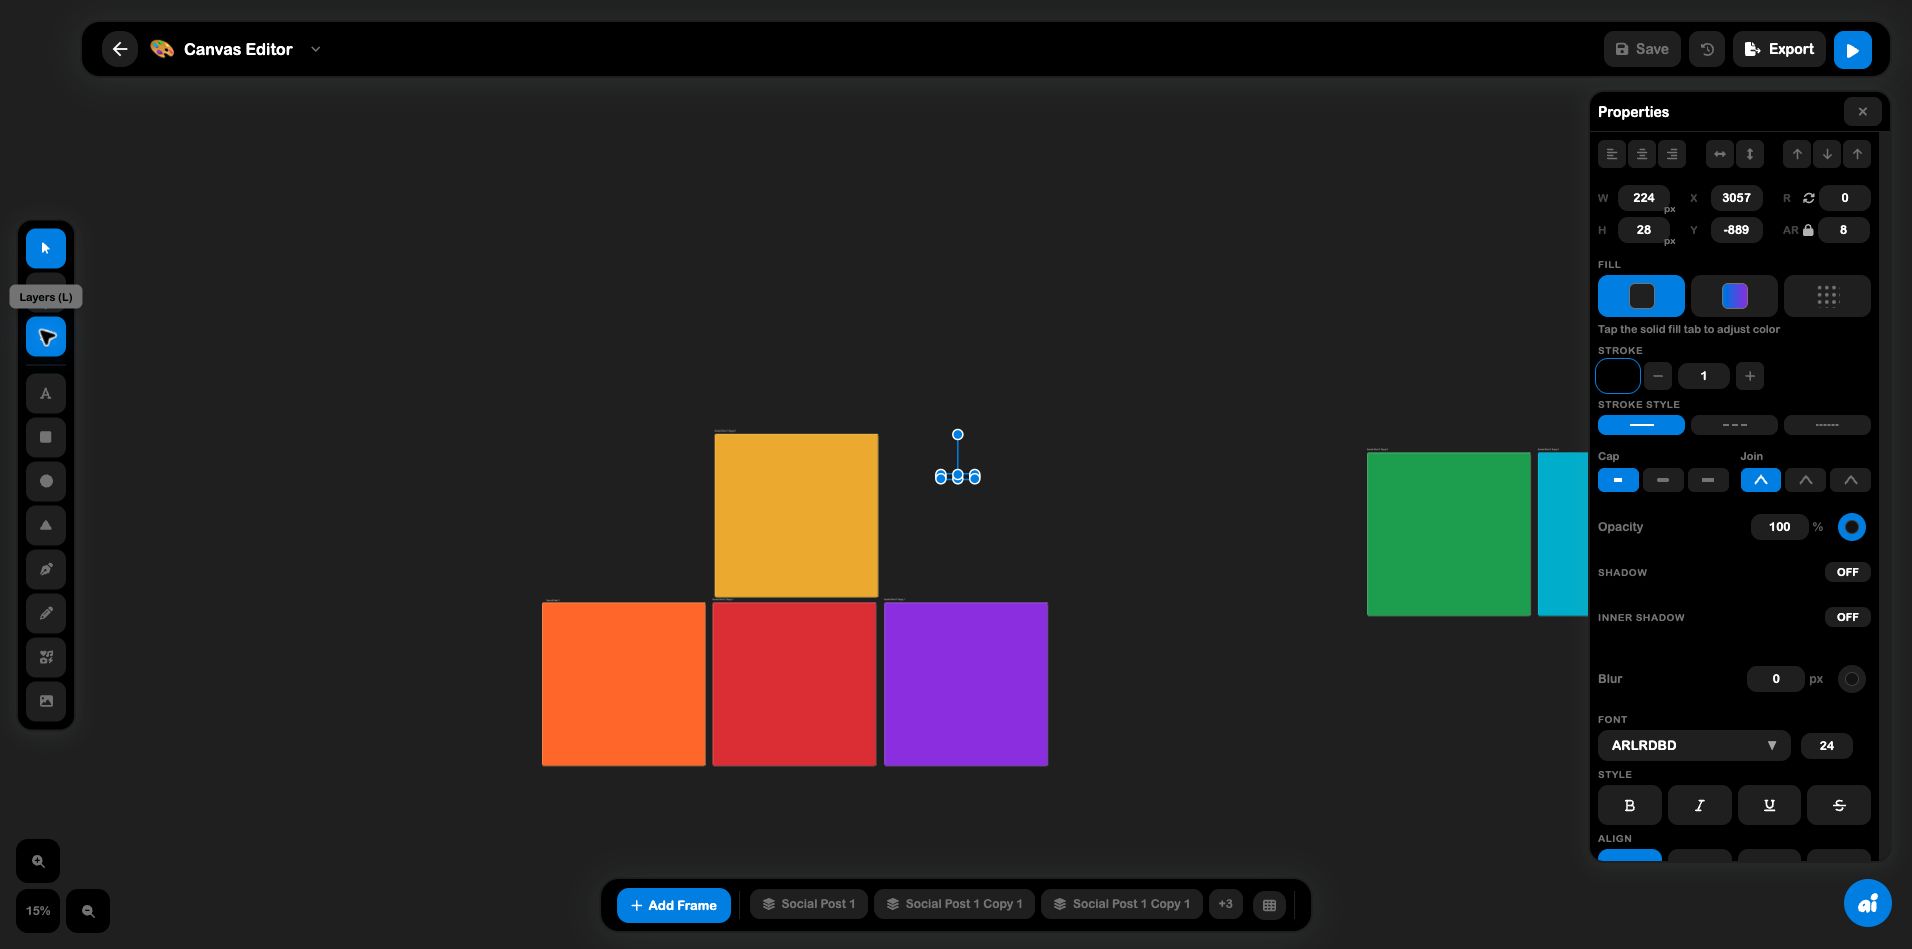
The live editor capture shows that Save, History, Export, and presentation controls are global commands. They act on the document or frame collection rather than on one particular object, so use the Properties panel and tool rail for object-level edits.
3. Tool rail
The left tool rail is organized from navigation to creation:
Selection and navigation
- Select (
V) chooses objects and exposes their properties. - Pan (
H) moves around the working surface without changing the artwork. - Layers (
L) opens the layer panel for ordering, visibility, and object-level navigation.
Creation tools
- Text (
T) adds editable text. - Rectangle (
R), circle, and triangle create basic shapes. - Path (
P) creates custom vector paths with click points and drag handles. - Draw (
D) creates freehand artwork. - Icons (
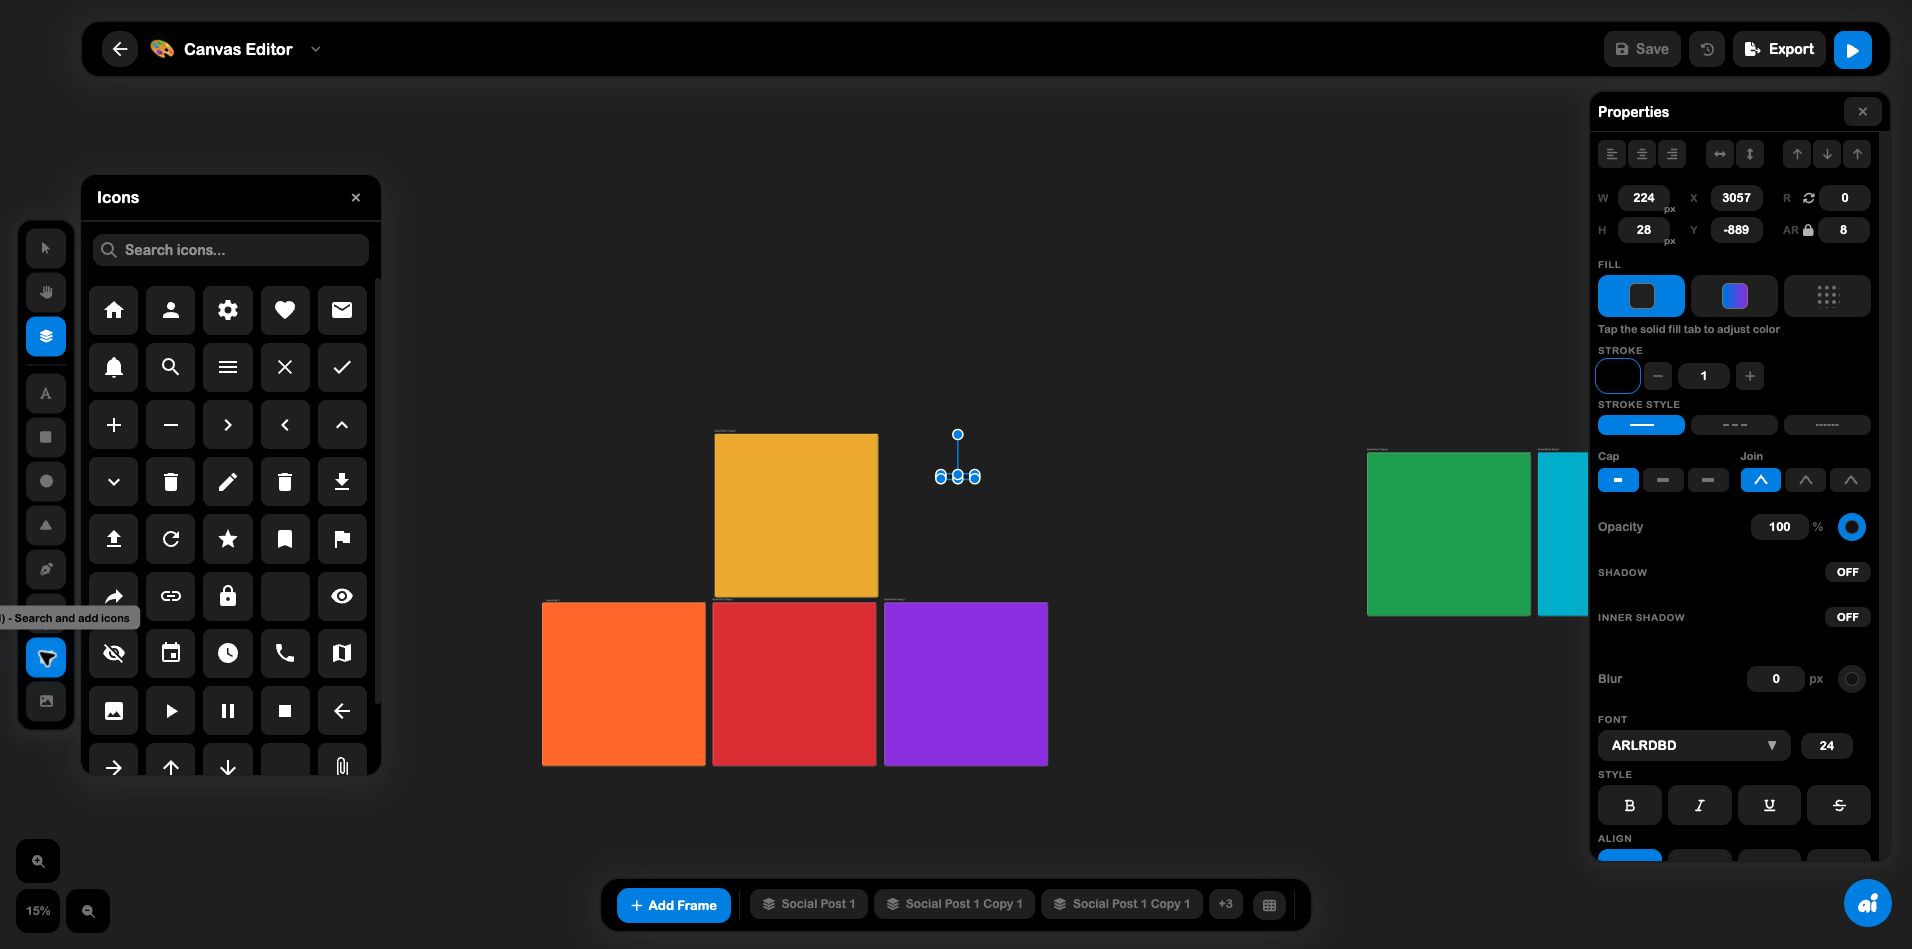
I) searches the icon library and places an icon as an editable object. - Image/video imports visual media.
- Audio adds an audio object for canvas-based presentations or media compositions.
Keyboard hints are shown directly in the tooltips, so the fastest workflow is usually: select a tool, place the object, then refine it in Properties.
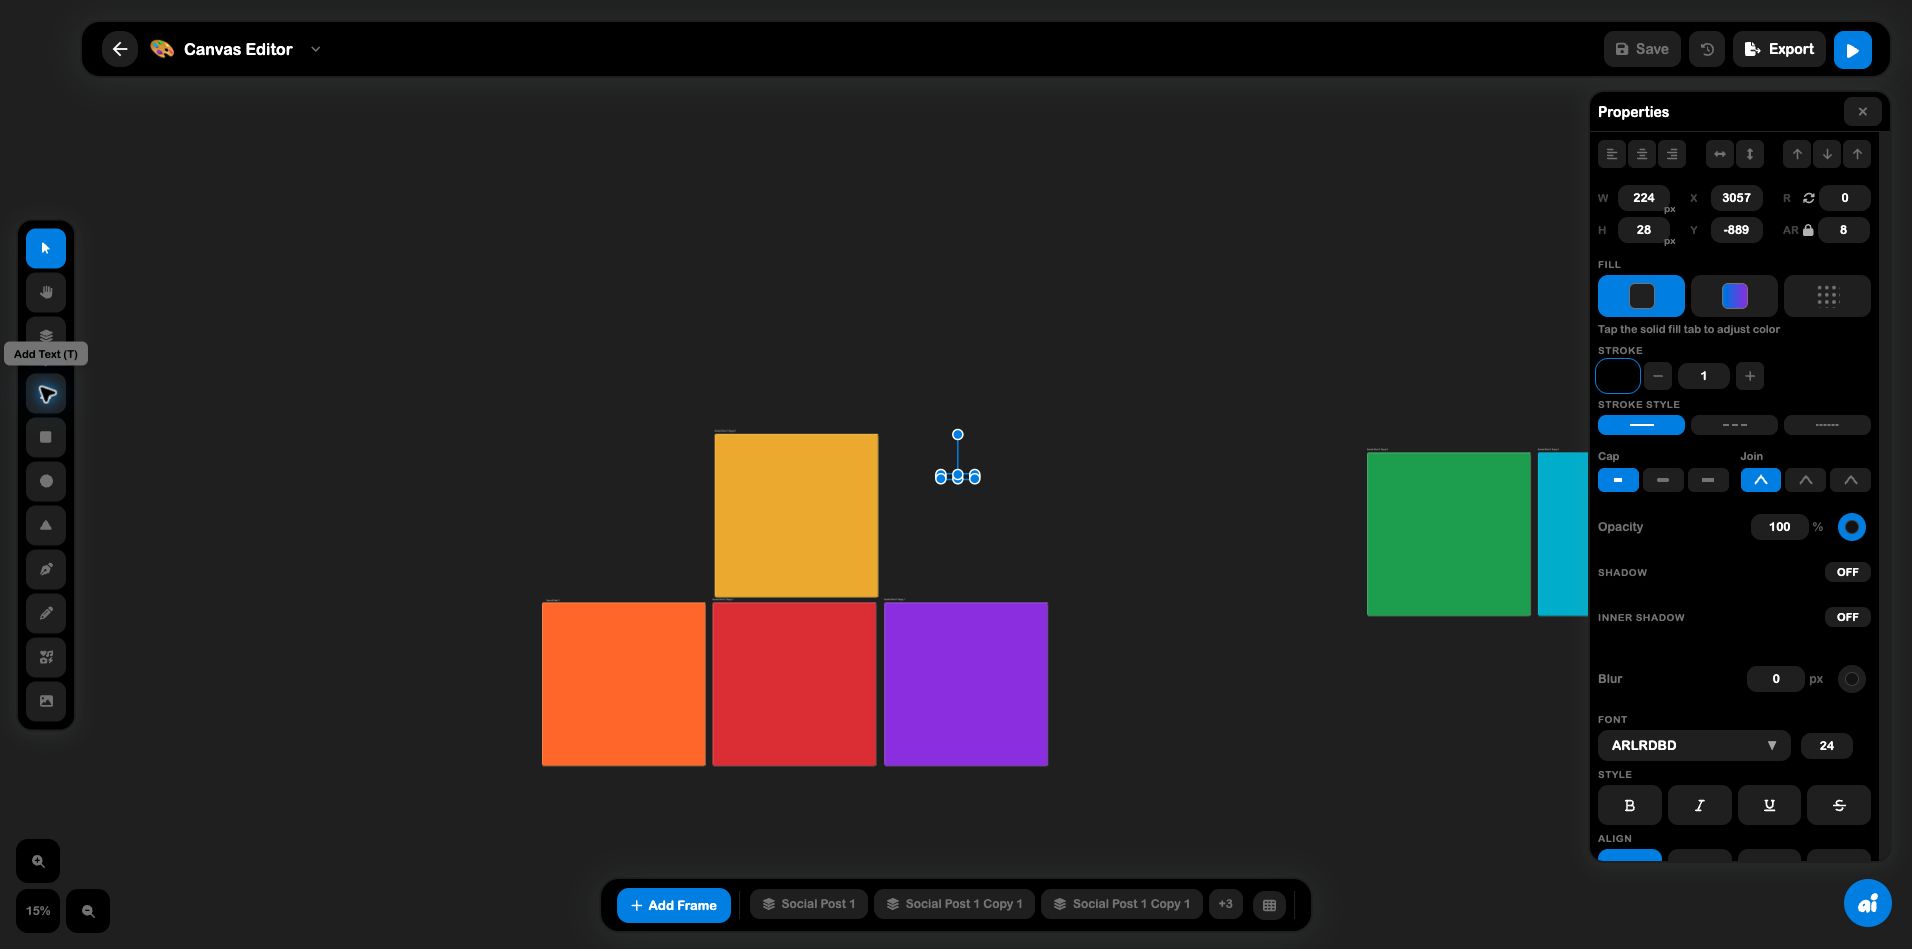
The tool rail is deliberately small but covers the full authoring loop: navigate the surface, create primitives, add media, then switch back to Select for refinement. Path and Draw are different tools: Path creates deliberate points and curves, while Draw records a freehand gesture.
4. Objects and selection
Every object is independent and can be selected, moved, resized, rotated, grouped by frame, locked, or styled.
When multiple objects are selected, the editor exposes additional operations:
- Lock/unlock prevents accidental movement.
- Union combines overlapping shapes.
- Subtract removes one shape’s overlap from another.
- Intersect keeps only the shared area.
- Exclude/XOR removes the overlapping area while keeping the non-overlapping regions.
- Align places objects against the left, center, right, top, middle, or bottom edge.
- Flip mirrors the selection horizontally or vertically.
- Stack mode arranges selected objects in vertical or horizontal stacks.
These operations are useful when you want a clean, repeatable composition instead of manually nudging every object.
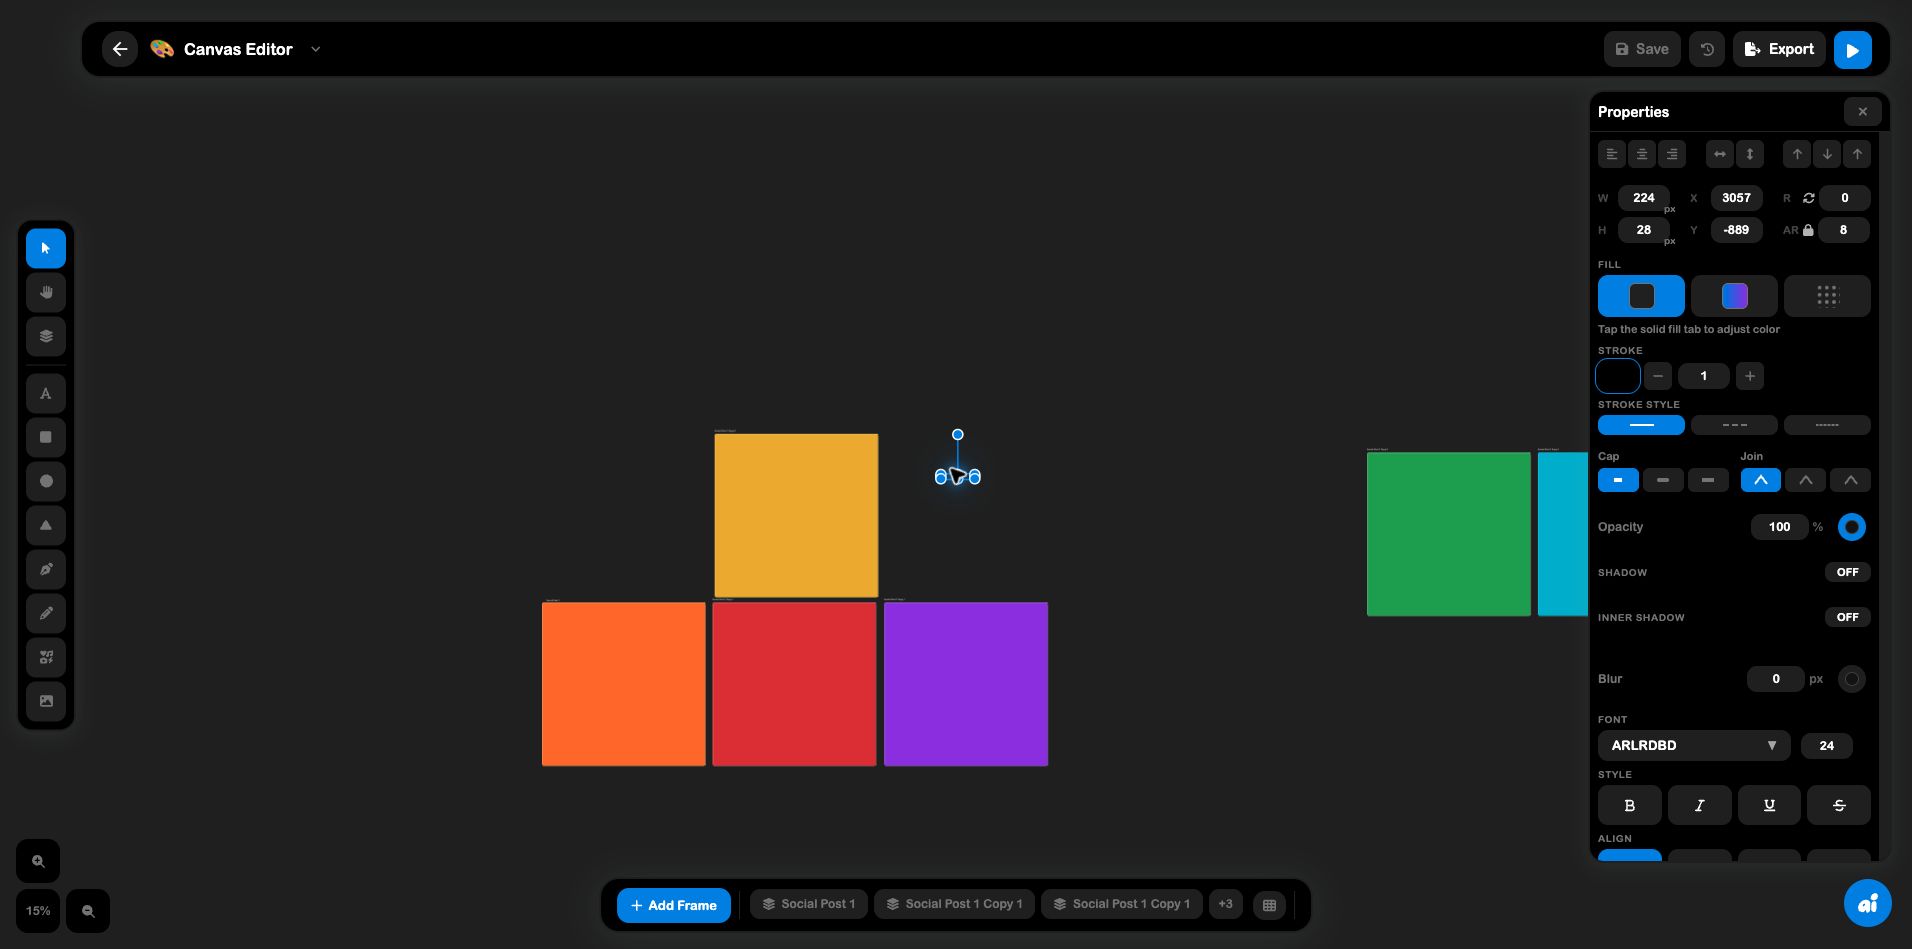
After placing an object, click it with Select to get a bounding box and context-sensitive controls. The selected object becomes the unit of editing: numeric geometry, styling, typography, and animation settings all refer to that object until selection changes.
5. Geometry and transform controls
The Properties panel exposes precise geometry controls for a selected object:
- W / H , width and height, with a px/% toggle where supported;
- X / Y , position on the canvas;
- R , rotation;
- AR , aspect-ratio lock;
- 3D rotation , pitch, yaw, and roll for supported objects;
- corner radius , linked or independently adjusted corners for supported shapes and images.
Use direct manipulation for exploration, then use the numeric controls when two objects must line up exactly.
6. Fills, strokes, and effects
Canvas supports multiple visual treatments rather than a single flat fill.
Fill types
- Solid color , one color across the object.
- Gradient , linear or radial, with draggable stops and angle control.
- Texture/pattern , procedural texture with editable foreground and background colors.
- Image , uses media as the object fill where supported.
Stroke controls
The stroke section controls color, width, and style. Supported styles include solid, dashed, and dotted lines, with cap and join options such as butt, round, square, miter, and bevel.
Shadows and opacity
Objects can use opacity, an outer shadow, and an inner shadow. Shadow color and strength are edited independently so the same object can work on both dark and light backgrounds.
The Properties panel is context-sensitive: a text object adds font and paragraph controls, while a shape emphasizes fill, stroke, corners, and transforms. This means the reliable sequence is select → identify the object type → edit the relevant section, rather than looking for one universal inspector.
7. Text and fonts
Text objects support font family, weight, style, alignment, decoration, and case transformations such as uppercase, lowercase, and capitalize.
The font picker can:
- search the available system or Google font list;
- expand a family to select a specific variant;
- upload a custom font;
- preview the font before applying it.
For reusable design systems, choose a small type scale and keep headline, body, and utility styles consistent across frames.
8. Images and AI-assisted tools
When an image is selected, Canvas exposes media-specific actions:
- crop and erase;
- remove the background with AI;
- upscale to 4 MP with AI;
- edit selected parts with AI;
- split the image into separate RGBA layers;
- replace one source color with another.
The crop tool has three modes: rectangle crop, path cut, and erase. Path cut can keep the inside of a drawn path or cut it away; erase uses an adjustable brush size and softness.
Treat AI actions as edits to a visual source: verify the result, then save the canvas so the transformed asset becomes part of the document history.
The icon browser is a separate creation flow from media import. Search first, then place the result as an editable object so it can be moved, styled, and aligned like the other canvas elements.
9. Frames and responsive outputs
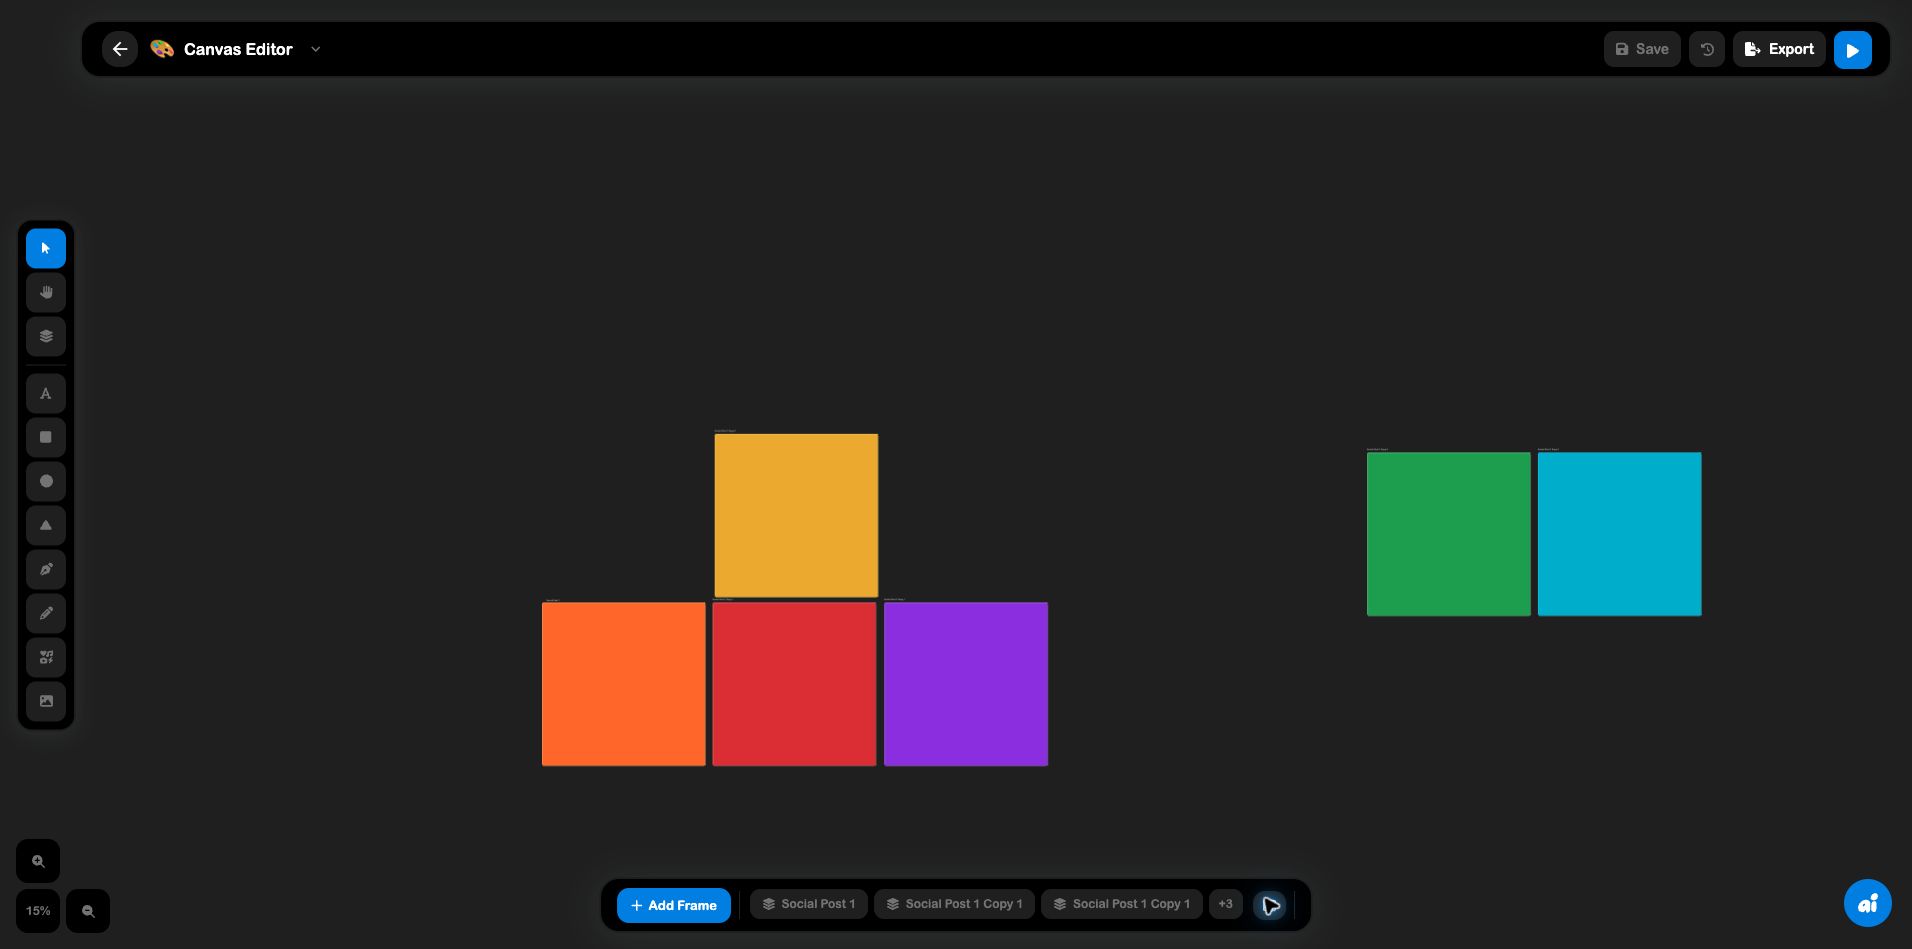
Frames define presentation surfaces inside a canvas. The editor includes presets for common output shapes, including mobile, tablet, desktop, social post, story, and custom sizes.
Use multiple frames when one composition needs several outputs. For example, keep a shared visual language while creating a desktop board, a square social graphic, and a vertical story.
Frame controls include:
- add a frame;
- choose a preset or custom dimensions;
- select the active frame;
- lock the view to a frame;
- show a grid of all frames;
- rename or reorder frames for presentation.
The live editor’s bottom strip is also a quick inventory of the document: it shows the active frame, neighboring frame copies, overflowed frames, grid view, and zoom controls. Use the strip when you are moving between outputs; use the canvas surface when you are composing inside one output.
10. Present mode
Present mode turns the frame collection into a sequence. Each frame can have presenter notes and a transition such as fade, slide, swipe, flip, or cube, with direction where supported.
The presentation order can be automatic or explicitly selected. Use explicit order when the canvas is a guided sequence; use automatic order when the spatial arrangement already matches the intended reading order.

11. Layers and history
The Layers panel is the best tool for dense canvases. It lets you find objects by name, inspect stacking order, and reason about which object is covering another.
History includes local session history and cloud history. In history preview mode, you can inspect an earlier state, restore a point in time, or return to the latest version.
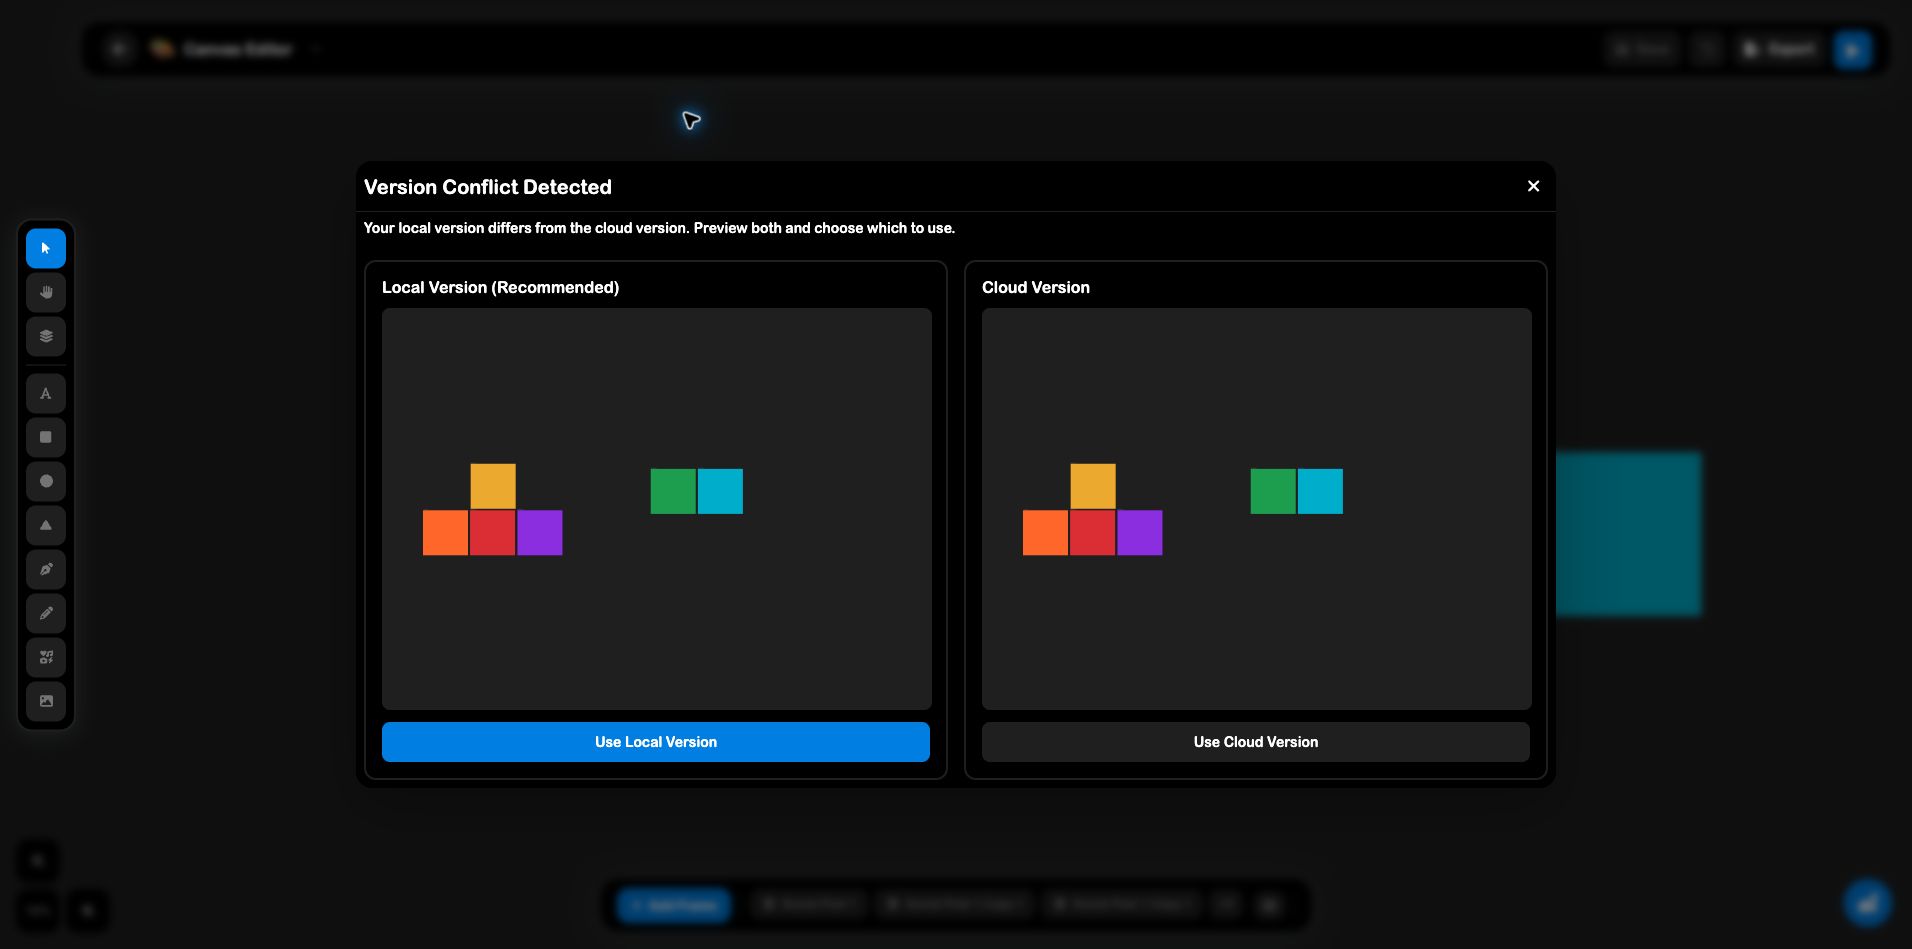
If the local version differs from the cloud version, Canvas shows a conflict resolution view with local and cloud previews. Choose deliberately: the local version is the working copy, while the cloud version is the last synchronized copy.
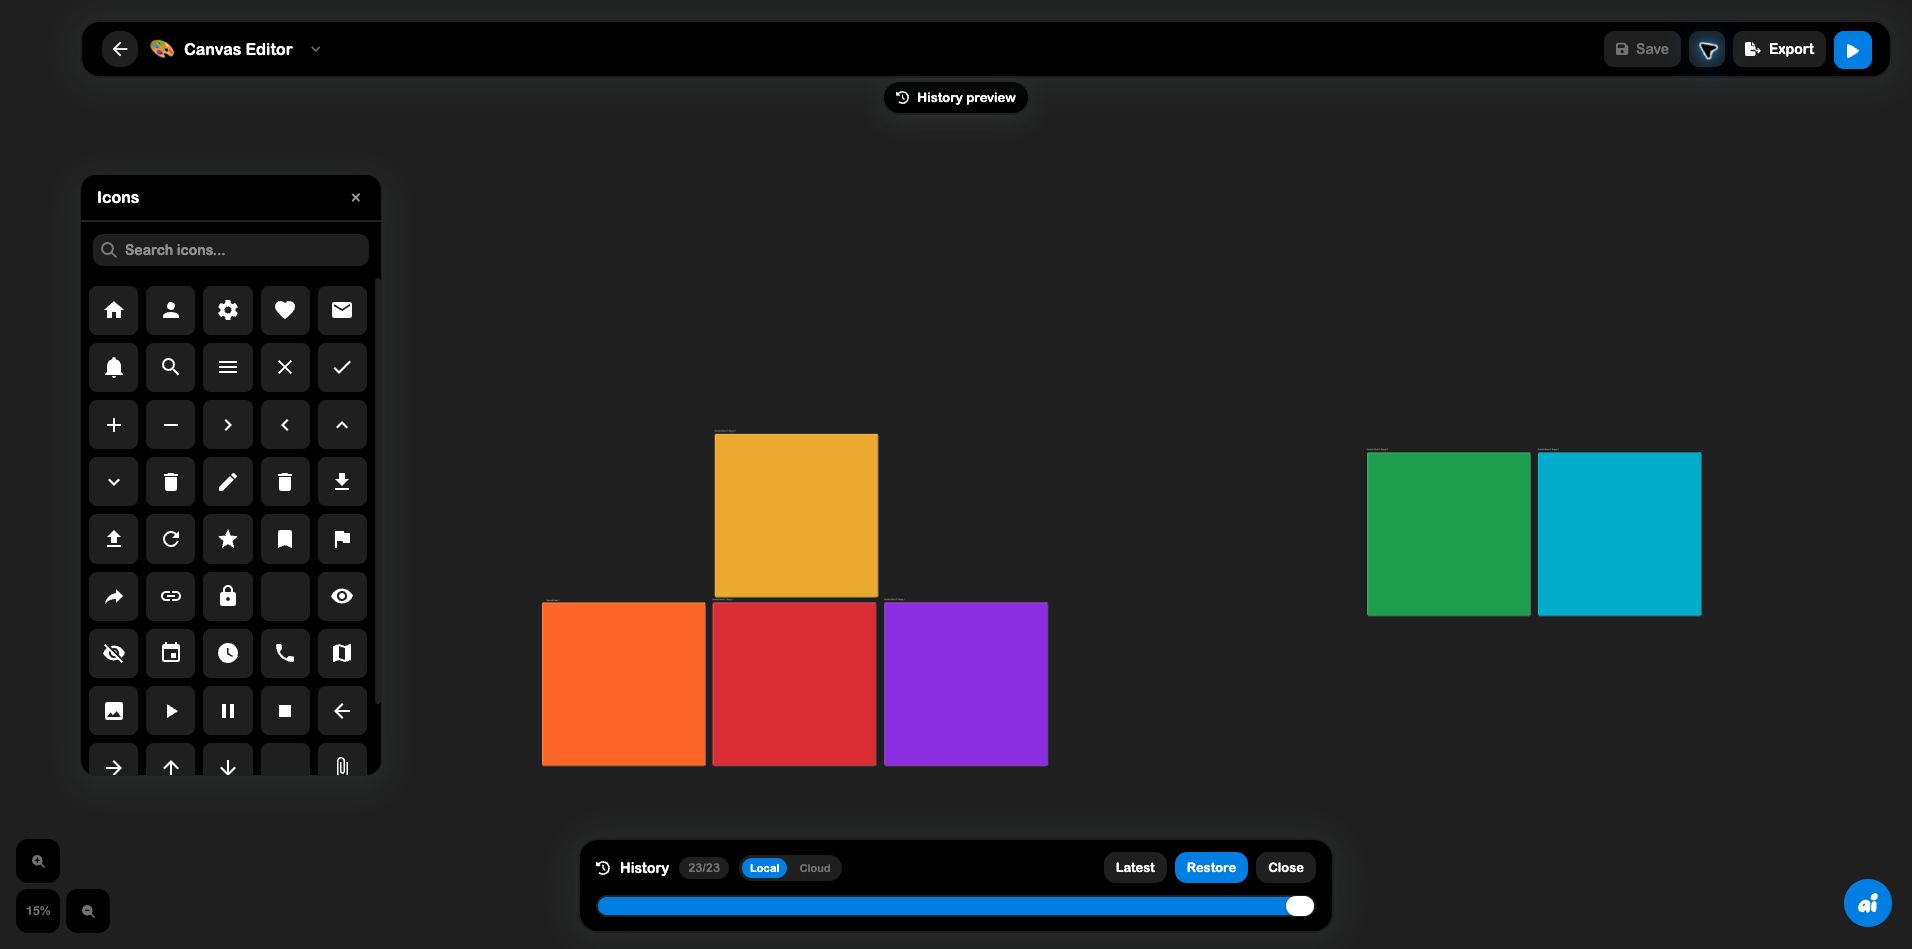
The safest recovery pattern is to inspect first, compare the local and cloud choices, restore only when you understand the consequence, and then save the resulting state as the new current version.
12. A reliable Canvas workflow
- Create a canvas and name it before adding detail.
- Add frames for the outputs you actually need.
- Build the composition with large shapes and text first.
- Use alignment, numeric geometry, and aspect-ratio locking for precision.
- Add media and effects after the structure is stable.
- Inspect the Layers panel before exporting.
- Use Present mode to verify frame order and transitions.
- Save, then confirm the save state before leaving.