Services
Documentation for SRVZr Services - create, shape, connect, and publish service offerings through the SRVZr platform.
Overview
Services are the sellable, fulfillable records behind a customer experience. A Service Flow defines what information to collect, which options to offer, how to price the work, when it can happen, and how checkout completes.
Create a Service
Choose Create Service on the Services page. The creator is a guided first step for defining the public-facing service record. It currently contains these sections:
| Section | What to enter | Why it matters |
|---|---|---|
| Service Name | The name customers and teammates will recognize | Distinguishes similar offerings |
| Question Phrase | The prompt that introduces the service | Frames the customer experience |
| Service Description | Three key points | Explains what is included |
| Tags | Three discovery tags | Supports search and categorization |
| Accent Color | A hex color | Sets the visual identity |
| Service Icon | An icon or uploaded service image | Gives the service a recognizable marker |
| Service Coverage | Area, Cities, or Location | Defines where delivery is allowed |
| Showcase | Optional details, testimonials, special features, and gallery images | Adds proof and context |
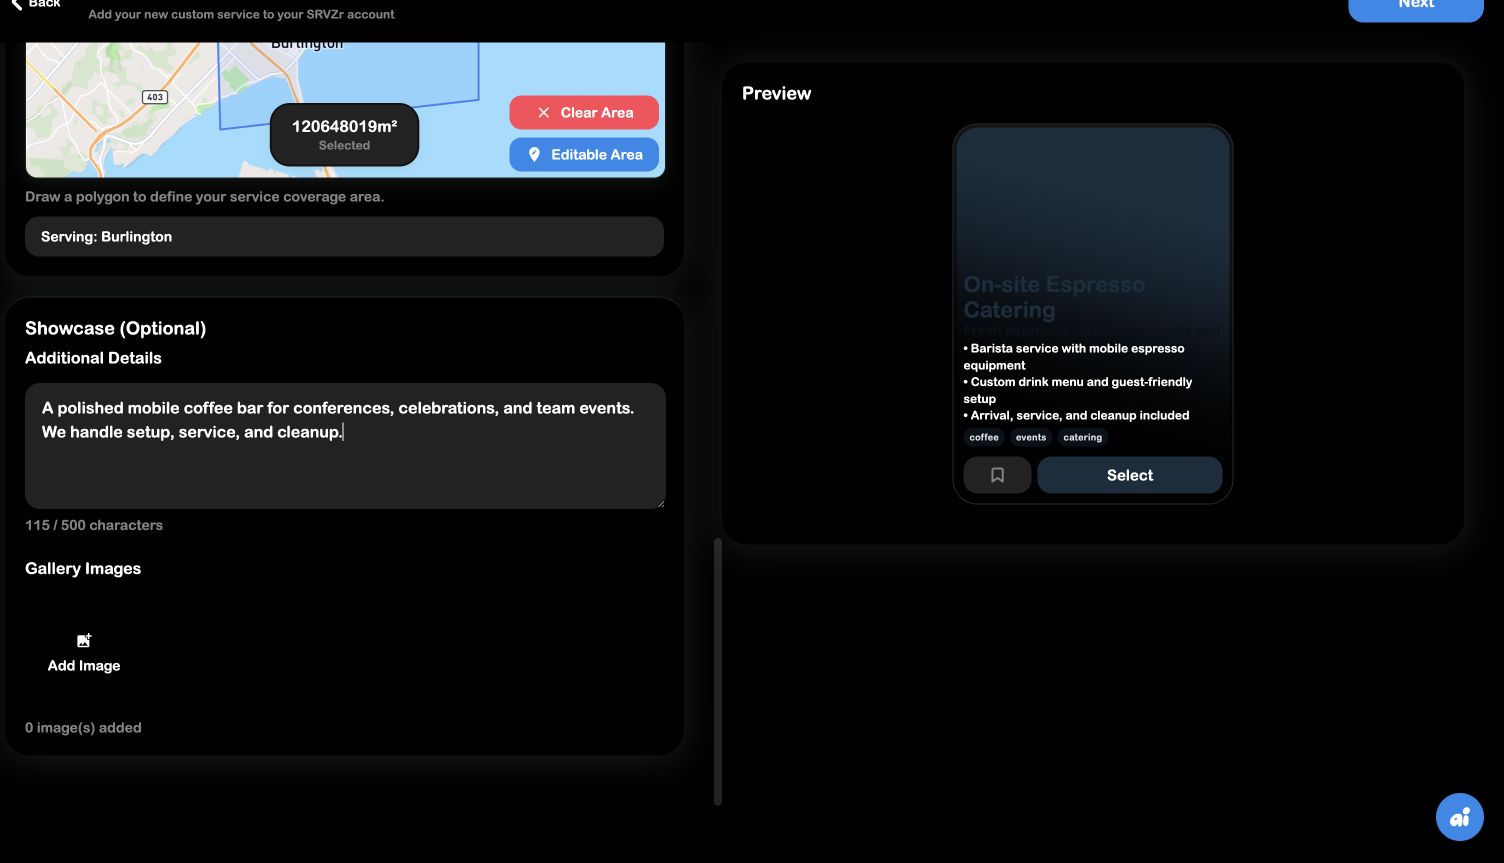
Write the service content
Fill the name first, then write the customer question as a natural prompt rather than an internal label. Use the three key points for outcomes or inclusions, not implementation notes. Tags should describe how a customer would search for the service. The preview updates as you work, so use it to catch awkward wording before moving on.
Define coverage
Coverage has three distinct modes:
- Area uses the map to draw a polygon when the boundary matters more than a place list.
- Cities lets you search for and select cities when the service is offered to a known set of municipalities.
- Location represents a specific saved place such as a venue or facility.
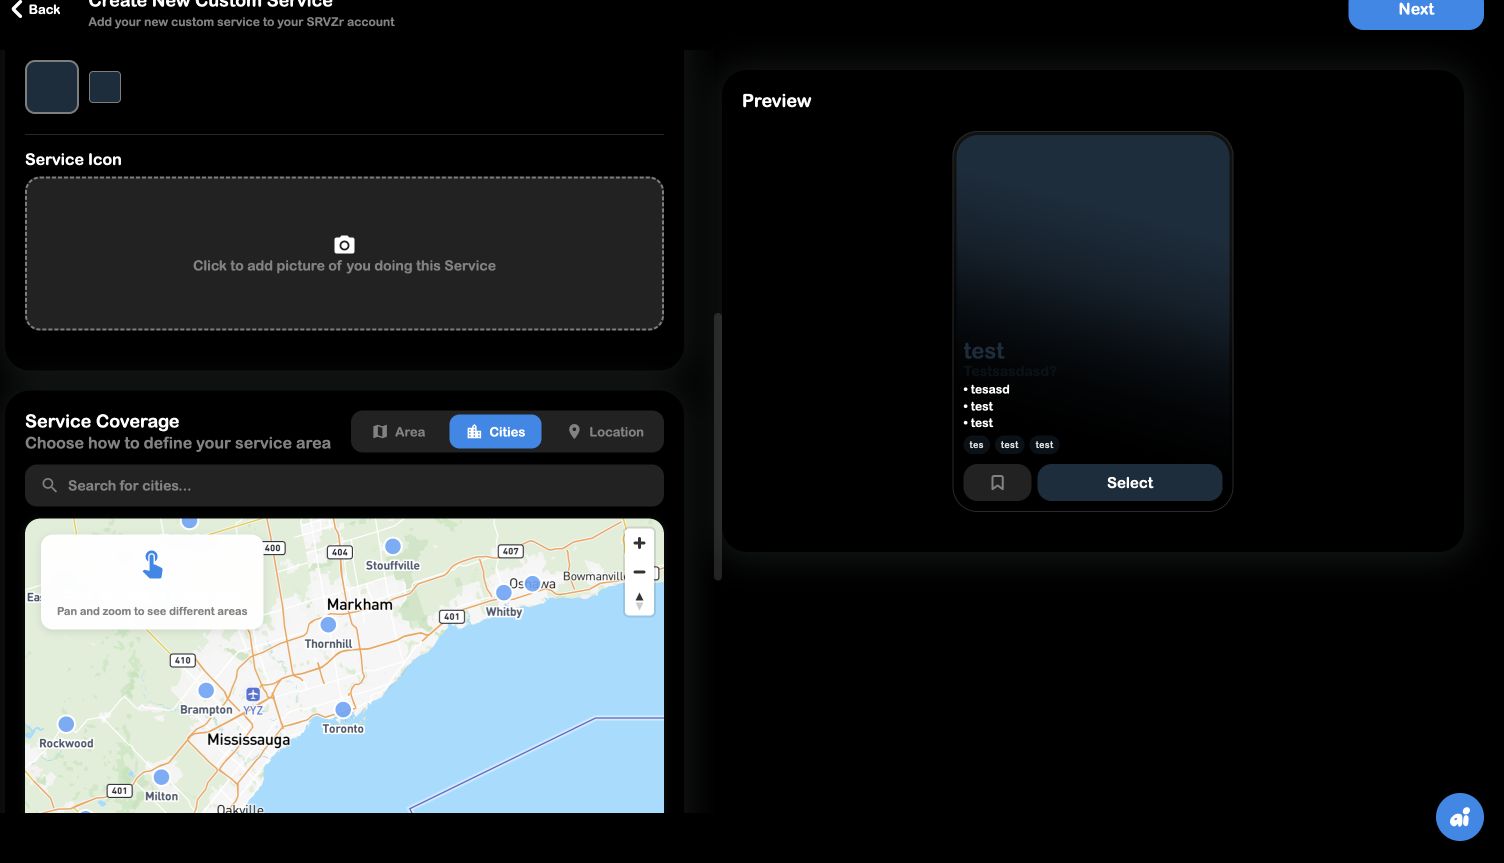
The selected coverage should agree with locations and scheduling constraints used later by the flow. If a customer can book outside the area, resolve that mismatch before publishing.
Add showcase content
The optional showcase field accepts additional information, testimonials, or special features, with a visible 500-character counter. Gallery images can be added separately. Keep this section focused on confidence-building content; put required questions and operational constraints in Forms and Flow Builder.
Connect the Service to a Flow
The creator’s Next button is the handoff into Flow Builder. In the live app, Next opens a draft route like /FlowBuilder/<draft-id> and shows the flow status bar, node canvas, control panel, and element palette. The Service record and flow are related but distinct:
Service creator → draft Service record → Flow Builder → Service Page node → published experience
After Next:
- Confirm the flow type is Service Flow.
- Select the Service Page node. This is the customer-facing entry node, not the final fulfillment endpoint.
- Use the node’s Select action or editor and choose the Service record created in the previous step.
- Add or configure Work Order Form, Tiers, Calculator, Scheduling, Quote, Checkout, and the Service endpoint.
- Connect nodes in execution order and make sure payment data reaches Quote and Checkout.
- Resolve Suggestions, Warnings, and Errors in the top bar.
- Run Simulator, then continue or publish once the graph and runtime path pass.
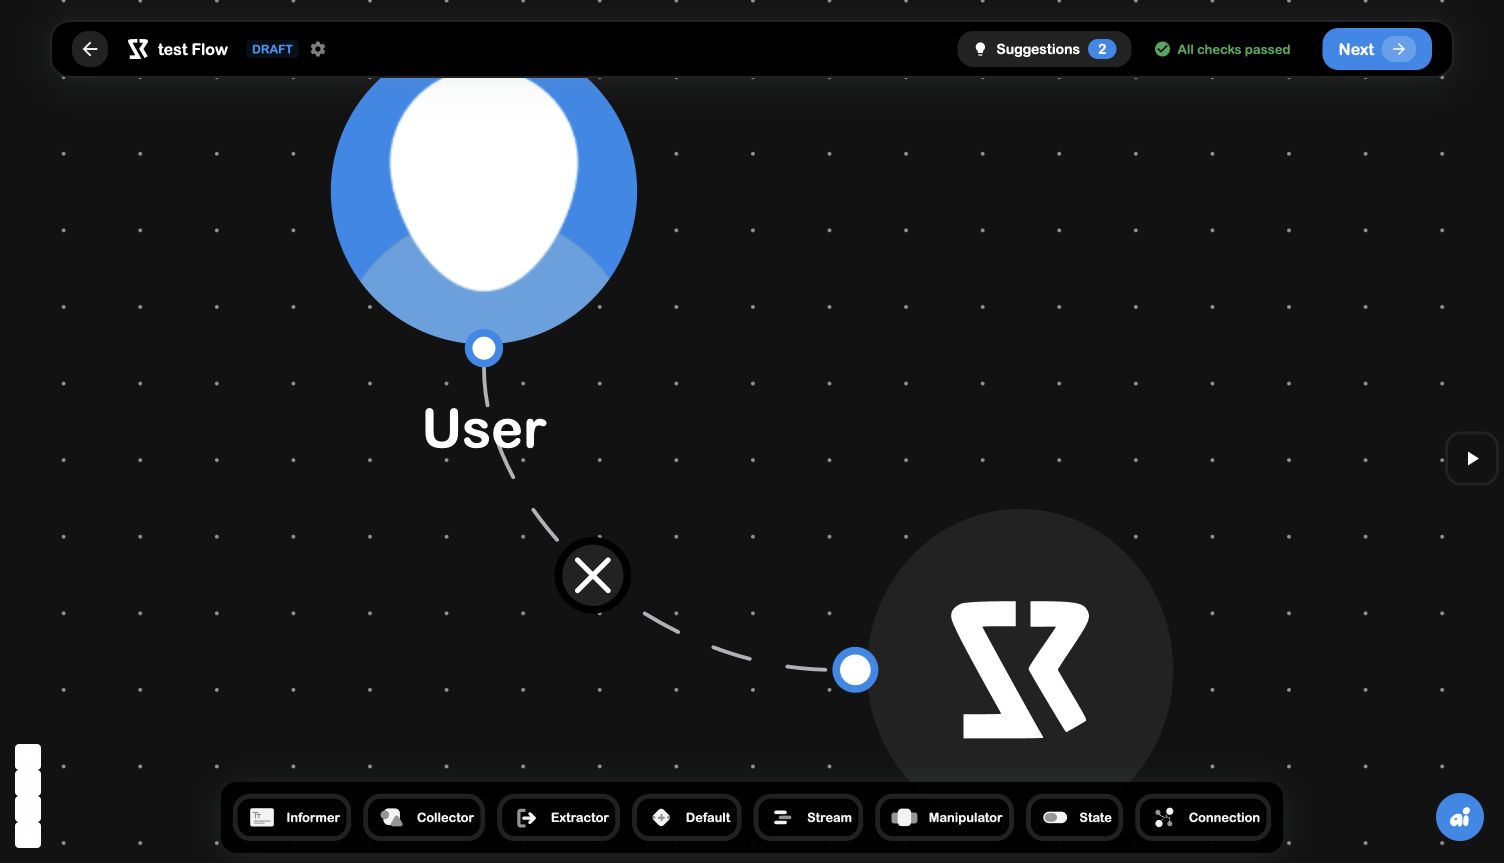
For the full node-by-node configuration reference, see Flow Builder, Nodes & Connections, and Diagnostics & Suggestions.
End-to-end workflow
- Create the service record and give it a customer-readable name and description.
- Decide what must be collected in a published Work Order Form.
- Add service levels or tiers when customers need meaningful choices.
- Build pricing with a Calculator and define the currency, rounding, adjustments, and invoice presentation.
- Add Scheduling when the customer chooses a date or time.
- Finish with Quote, Checkout, and the Service endpoint.
- Test the path in Diagnostics and Simulator before publishing.
What belongs in the service record
Keep the service record focused on the offering: the promise, customer-facing language, fulfillment identity, and relationship to the published page. Put conditional questions, calculations, and branching in the flow so the same service can evolve without duplicating the catalog record.
From request to fulfillment
Requests are the intake queue; Services are the offering; Work Orders are the operational result. When a request is accepted, preserve the customer and service context as the work moves through scheduling, quote, checkout, calendar, and invoice/payment review.
When you build a Service Flow, connect its Service Page node to the offered Service record. The rest of the graph can then use the service context while the customer moves through the form, tier, price, schedule, quote, and checkout nodes.
See Flow Builder for the complete visual workflow and Web App Overview for the dashboard and navigation around it.