Layout Builder
Layout Builder is the interactive floor-plan editor behind the Layouts page. It is optimized for physical planning: place tables, define seating, keep walkways usable, and add fixed fixtures that make the venue legible to staff and guests.
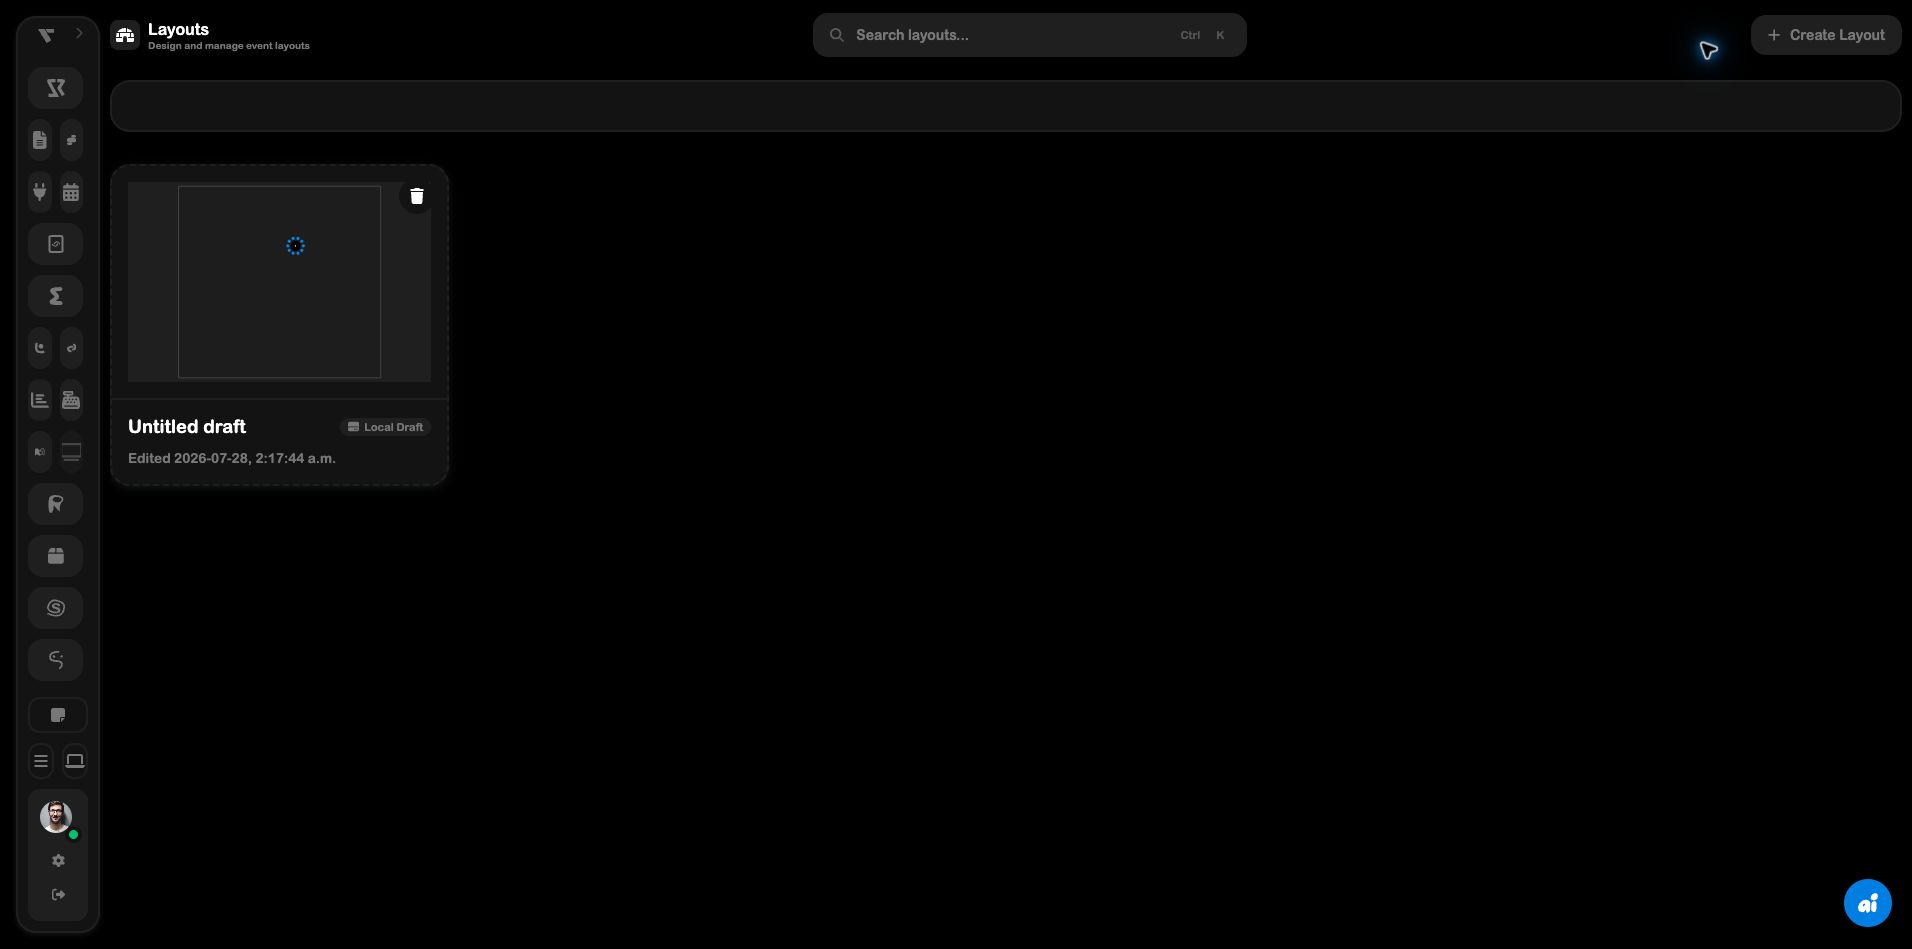
The image above shows the Layouts destination in the workspace. Opening a layout card or choosing Create Layout takes you into the editor described below.
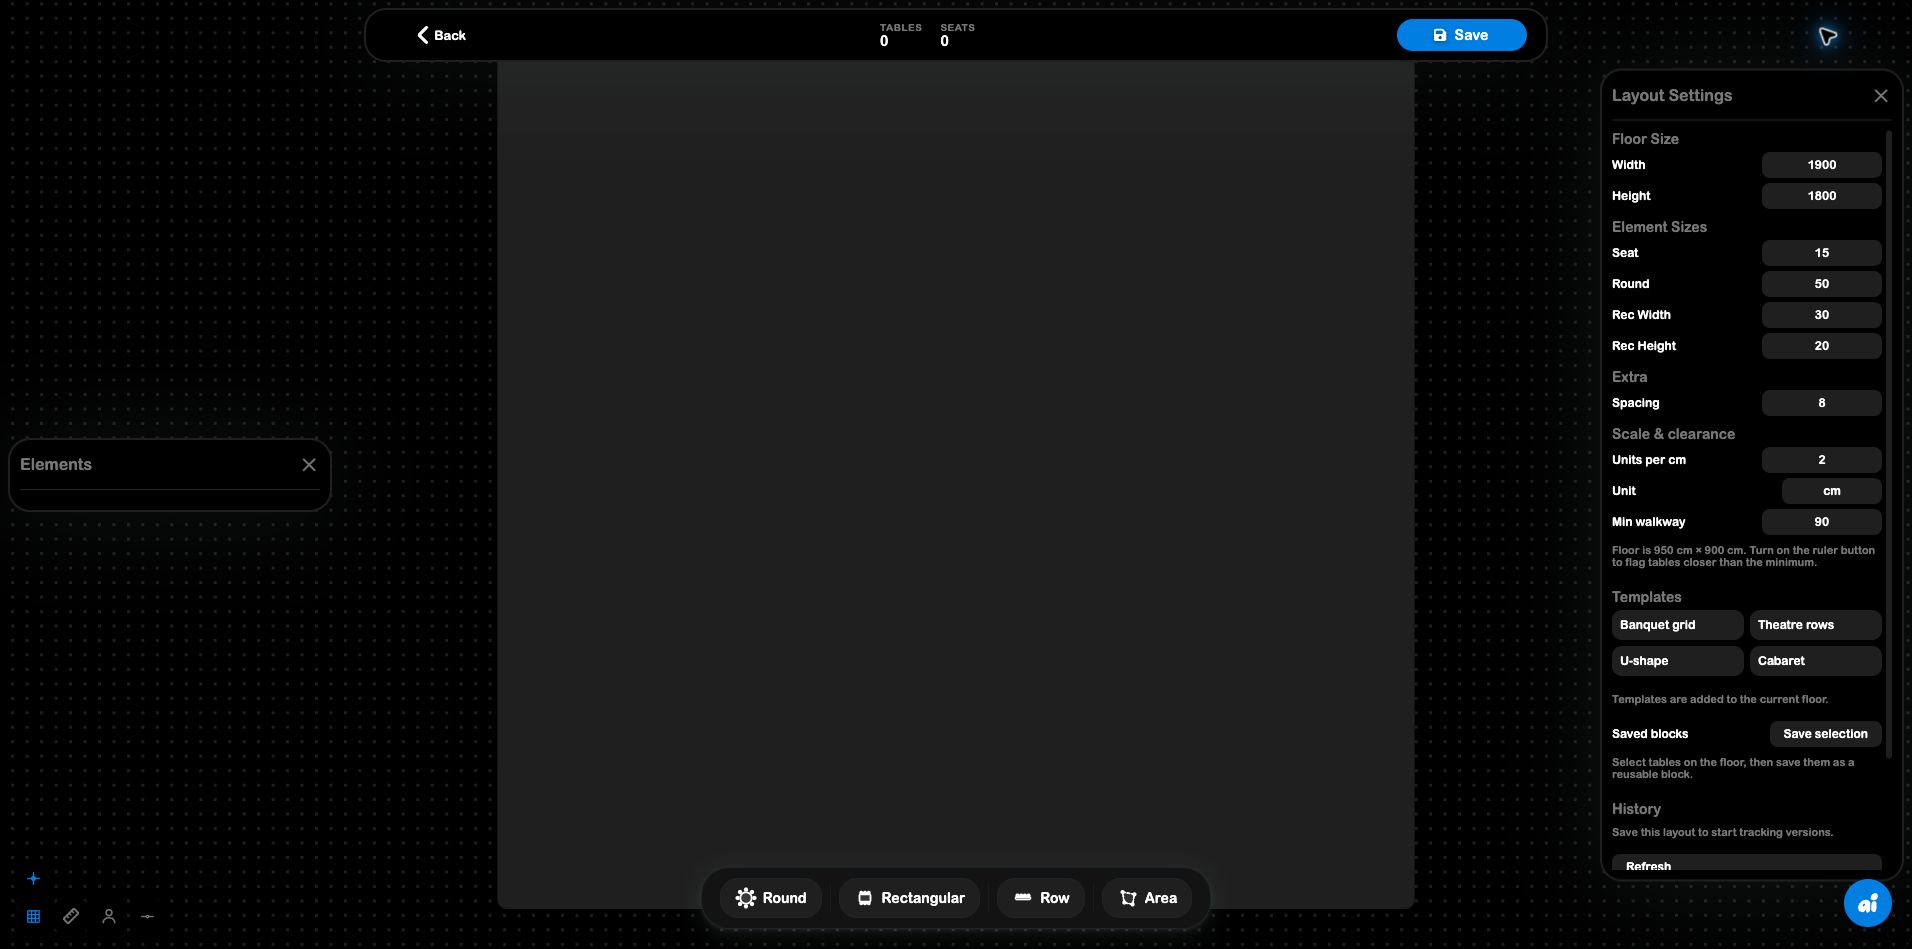
The builder’s mental model
Think of the floor plan as a coordinate space with two kinds of things:
- Seating objects , tables and rows with seats that can later be booked or assigned.
- Spatial objects , stages, bars, doors, pillars, dance floors, and named areas that describe the room around the seating.
The editor keeps seating data separate from fixtures so event operations can count seats without treating a stage or walkway as inventory.
Start from a template
The builder includes generated starter layouts that use the current floor settings:
| Template | Best for | What it creates |
|---|---|---|
| Banquet grid | Dinner or table-service events | Evenly spaced round tables with ten seats by default. |
| Theatre rows | Talks, screenings, and performances | Rows of seats facing a stage. |
| U-shape | Meetings and workshops | Rectangular tables arranged around an open center. |
| Cabaret | Shows with dining or social seating | Half-moon rounds facing a stage plus a dance floor. |
Templates are starting geometry, not a final answer. Apply one, then adjust it to the real room, entrances, sightlines, and accessibility requirements.
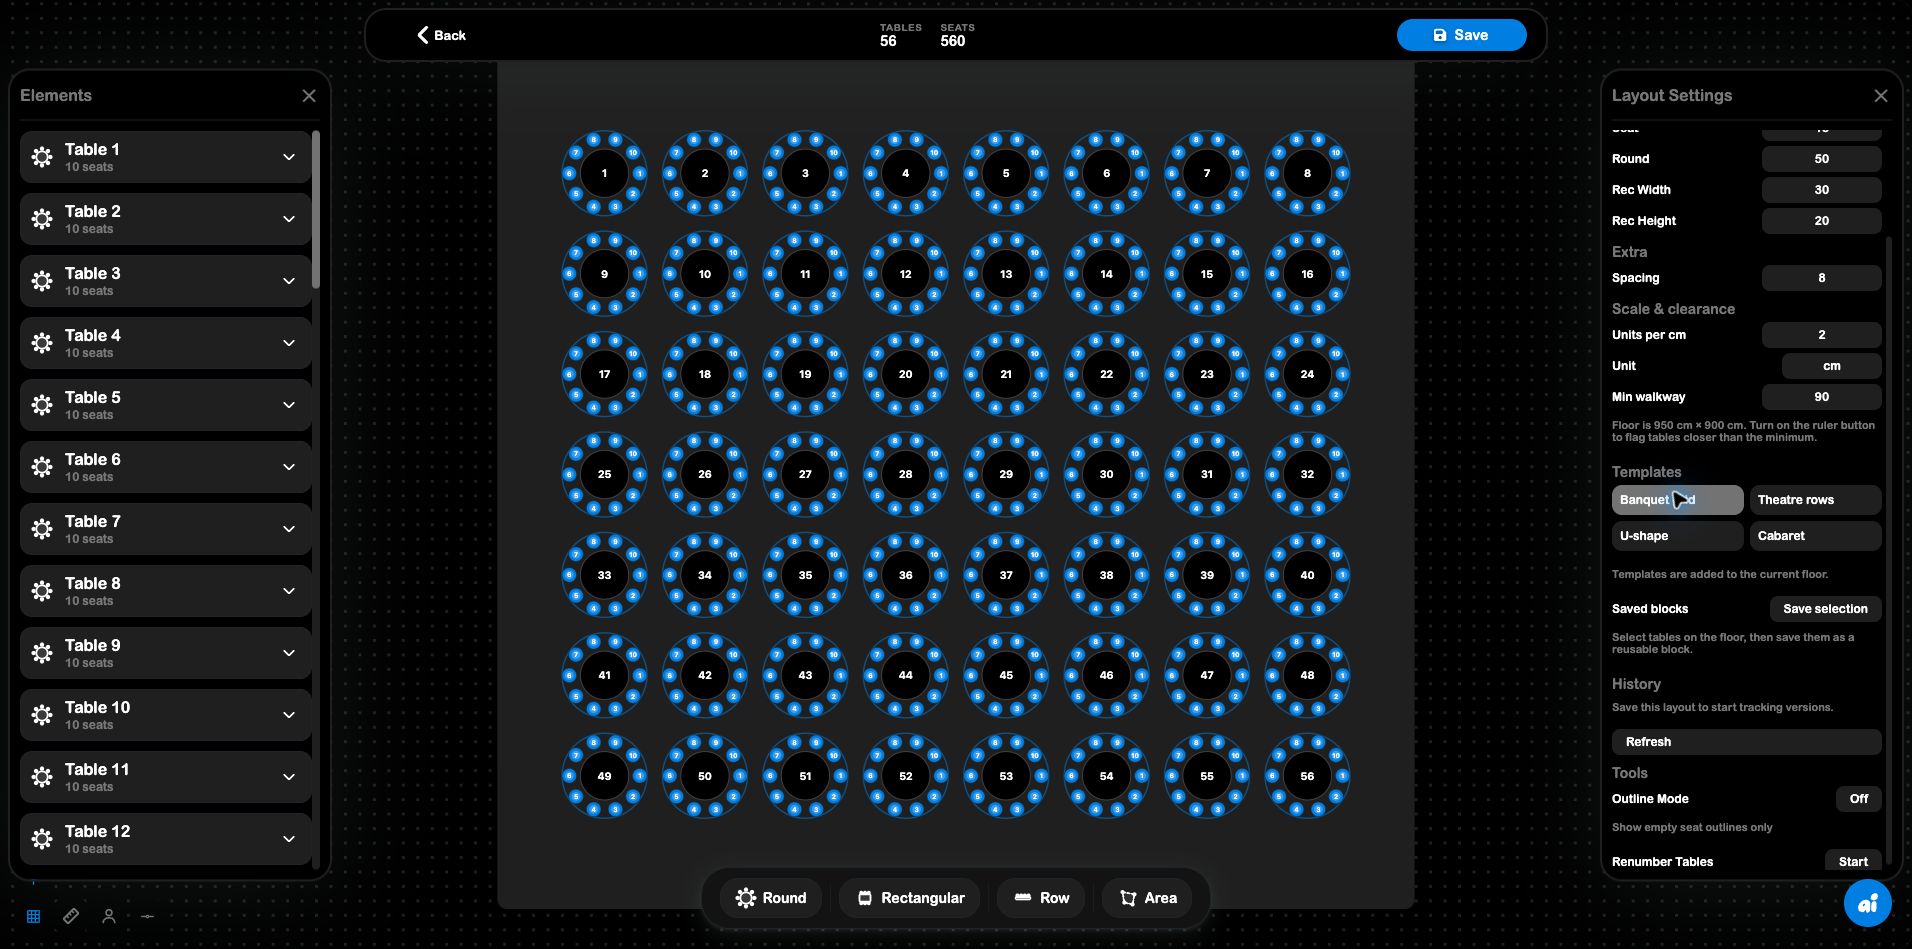
Templates are additive to the current floor. That is useful for experimentation, but it also means you should start with a clean draft or remove an unwanted generated arrangement before building the final plan.
Tables and seating
Table types
The editor supports round tables, rectangular tables, and rows. Each table carries a seat count and booking state.
Position and rotation
Drag a table to place it. Use rotation controls when the room is not aligned to the default axes. Tables can be locked once their placement is approved, preventing accidental movement during later edits.
Seat behavior
Seats are normally generated automatically around the table. Unlock a table when individual seats need manual placement. This is useful for irregular room shapes, accessibility gaps, or a custom mix of chairs around a table.
Sizing
The layout settings define the defaults for circular table size, rectangular width and height, seat size, and spacing. Individual tables can carry size overrides when one table needs to be different without changing the whole room.
Fixtures and areas
Non-seat objects make the plan operationally meaningful:
- Stage marks a performance or presentation area.
- Bar identifies a service counter.
- Dance floor reserves open space for movement.
- Door records an entrance or exit.
- Pillar marks an obstruction.
- Area defines a named zone that can contain tables and seats.
Areas are especially useful for reporting: the app can calculate how many tables and seats sit inside a named zone.
Alignment, locking, and spacing
Good floor plans are readable and safe. Use the editor’s alignment and positioning tools to keep rows consistent, then check clearances between tables.
The builder surfaces clearance warnings when tables are too close. A warning is a design signal, not just a cosmetic message: crowded spacing can make a layout impractical even if every table technically fits.
The builder’s five small toggles make the floor-plan behavior explicit: snapping, grid visibility, clearance checking, seat assignment, and gap controls can be turned on independently. Settings also expose floor width/height, seat and table defaults, spacing, measurement units, and minimum walkway clearance.
Recommended pass:
- Place large fixtures first.
- Apply a seating template or place the main table groups.
- Align rows and rotate groups.
- Check table-to-table clearance.
- Add entrances, exits, and walkways.
- Lock approved tables.
- Review the total table and seat count.
Saved blocks and reusable groups
The builder supports saved blocks: personal reusable groups of tables stored locally for the browser profile. A block preserves relative positions so it can be instantiated again at a new location.
Use blocks for recurring arrangements such as:
- a standard sponsor/VIP cluster;
- a repeated classroom pod;
- a registration desk plus queue tables;
- a bar-and-standing-area package.
Blocks are personal working tools. Saved cloud layouts are the shared source of truth for a venue or team.
Save and version a layout
The top panel supports the complete save flow:
- layout name;
- description;
- tags;
- location reference;
- save to the cloud;
- load a saved layout;
- view earlier versions after the layout has been saved.
New work is also kept as a browser-local draft while you edit. That protects against leaving the page before the cloud save is complete. When a draft is synced, it is promoted to the saved layout record.
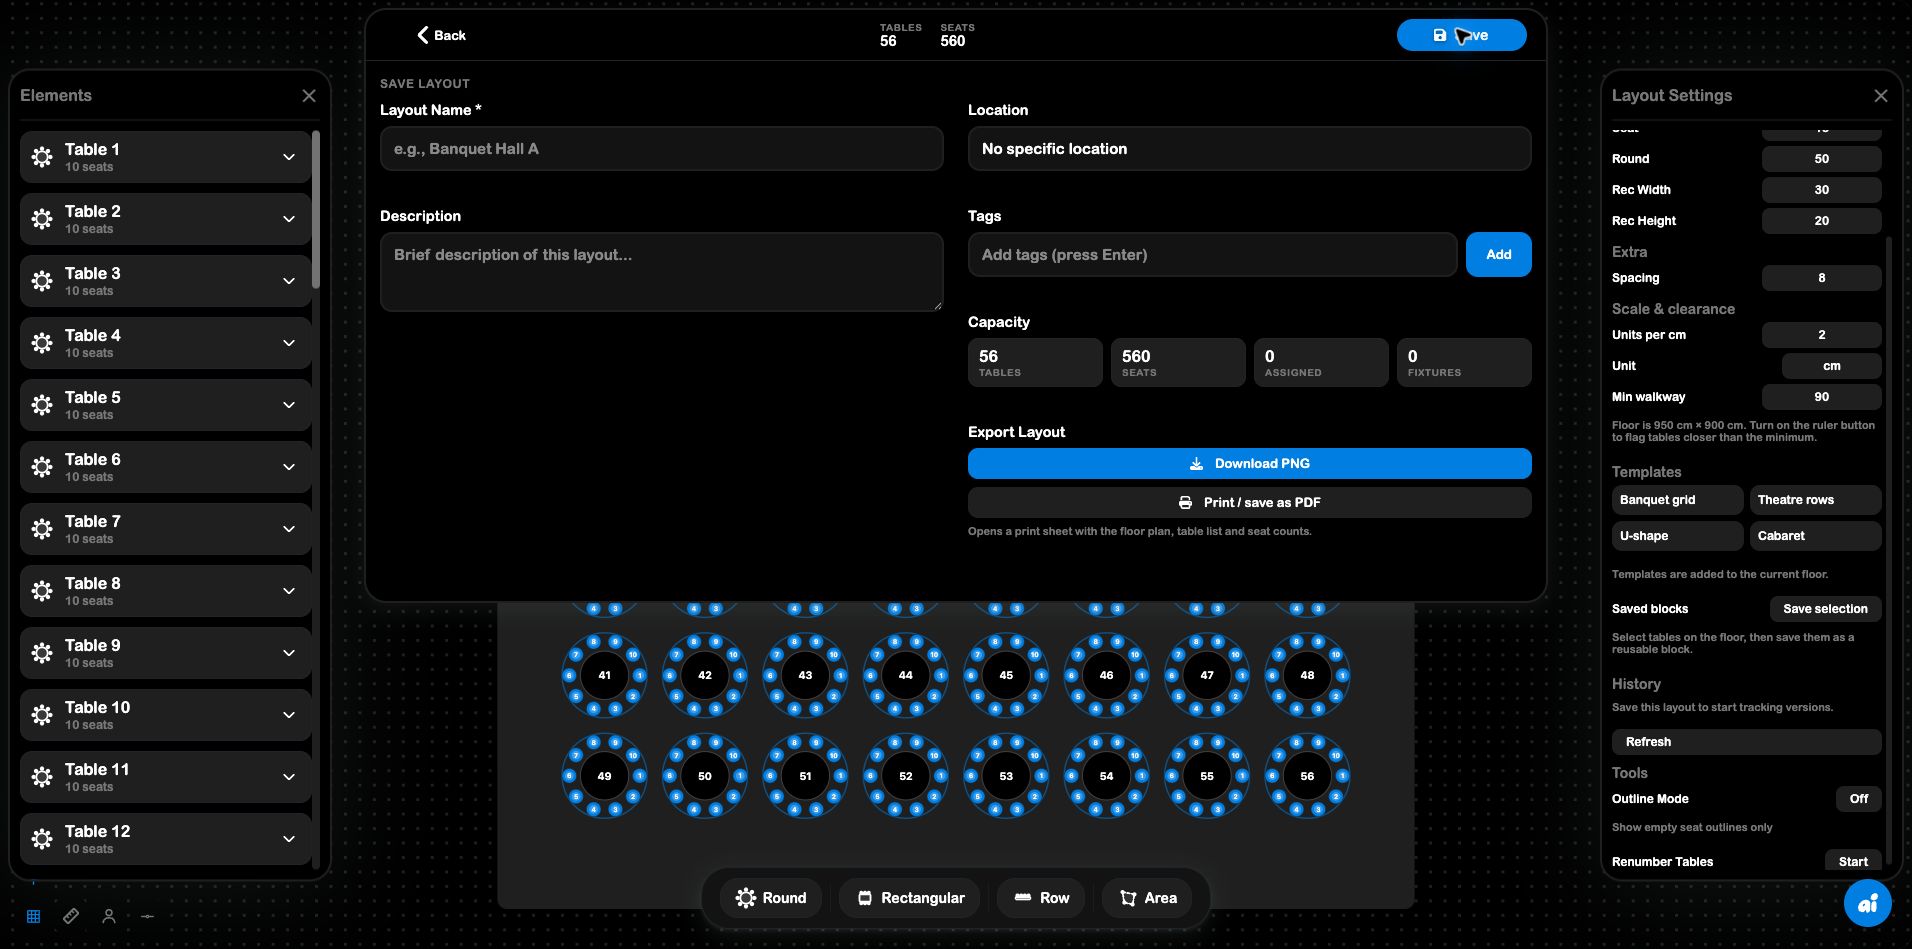
Saving is a deliberate handoff boundary: give the plan a useful name, add enough metadata for another operator to find it, verify the capacity summary, then save before relying on version history or sharing the plan.
Print and handoff
The builder can generate a printable floor-plan sheet containing the floor plan and a table list. Use this for event setup, venue walkthroughs, or a physical staff handoff.
Before printing, verify:
- the layout name is meaningful;
- table labels and seat counts are correct;
- fixtures are visible and legible;
- the selected location is correct;
- the plan is saved.
Layout Builder checklist
Before using a layout in an event:
- confirm the floor dimensions and unit settings;
- confirm doors, stages, bars, and restricted areas;
- check that seats are not overlapping fixtures;
- review clearance warnings;
- verify the total seat count;
- save the layout with tags and a location;
- print or share the final plan if the event team needs a physical copy.